Tuesday 30 September 2014

Stitching & Stamping On A Layout

Hello Everyone
Today I wanted to share two of my favourite techniques in paper crafting...stitching and stamping!!  I have loved stamping for a long time (I'm a Stampin' Up! Demo here in Canada) but stitching on layouts and cards is a fairly new love of mine thanks so Amy Tangerine and her Stitching Stencils that she has had part of her latest American Craft releases (Plus One, Cut & Paste and Yes, Please).  Because of those stencils I have started using dies and die-cuts to use as stencils and make my own holes to stitch.  This is exactly what I have done with this layout.  I used a 2" circle punch and poked holes around it to use for my stitching.  I also punched out some patterned papers with the 2" circle punch and used them on my layout.  The inks and patterned papers are from Studio Calico.  I then used a variety of stamps into the stitched circles.


Thanks for stopping by and HAPPY SCRAPPIN'!


  Mandy Reedyk
  Creative Team Member of SCRAP YOUR SCRAPS 

Monday 15 September 2014

Things that shine winner!


 The Scrap Your Scraps' members will take their vacations for the next 15 days, so see you in October with more ideas...
 
inspiration

  Don't forget that  you can still revisit our previous ideas:

- Using vellum on your projects (by Cathy)
- Using your scraps to make cards (by June)
- Die-Cut and ink resist cards (by Tiffany)
- Homemade embellishments using scraps (by Sandi)
- Cut Out inspiration (by Mandy)
- Homemade embellishments tutorials (by Solange-Isbaha)
- Yes, it's okay to scraplift (by Nicole)
- Scraps only (by Mandy)
- Create, don't just collect: 50 Projects Challenge (by Tiffany)
- Doodling on your projects (by Cathy)
- Creating your own embellishments (by Sandi)
- One sketch/Three ways (by Solange-Isbaha)
- Trending: using watercolor! (by Mandy)
- Ribbons, brads and buttons (by Deedee)
- Using party supplies (by Cathy)
- Fall in love with your old stash items again (by Carlie)
- Adding interest to die cuts (by Nicole)
- Ribbons leftovers (by June)
- Acrylic paint three ways (by Tiffany and Mandy)
- Using leftover Thickers (by guest Carson)
- One sheet mini album (by Sandi)
- Creating your own stamped backgrounds (by Mandy)
- Mixing old with new (by Deedee)
- Pull-out pockets (by Sandi)
- Ink and stencils (by guest Audrey)
- Creating backgrounds using scraps and punches (by Cathy)
- Revisiting older products in your stash (by Nicole)
- Storing your scraps (by Solange-Isbaha and guest Janet)
- Starburst card tutorial (by June and Solange-Isbaha)
- Layouts ideas for using scraps or 6 by 6 paper pads (by Solange-Isbaha)
- Three ways to use your misting sprays (by Carlie)
- Creating your own pocket filler cards (by Mandy)
- Inspiration jar (by Solange-Isbaha)
- Homemade embellishment tutorial: Faux leather (by Solange Isbaha)
- Homemade embellishment tutorial: Stitched hearts (by Solange Isbaha)
- Homemade embellishment tutorial: Fabric flowers (by Solange Isbaha)
- Homemade embellishment tutorial: Tea bag folding (by Solange Isbaha)
- Homemade embellishment tutorial: Paper bows (by Solange Isbaha)
- Homemade embellishment tutorial: Folded flowers (by Solange Isbaha)
- Homemade embellishment tutorial: Quilling flowers (by Solange Isbaha) 


 And now, let's congrat Laura who is the winner of the Things That Shine challenge!

https://www.etsy.com/ca/shop/AshleyCalder

Check her great idea and her beautiful layout here:

 Thanks so much to all the participants!


See you in October... with an announcement !
Thanks for your support.


Saturday 13 September 2014

Let's Be Clear! - Using Vellum on Your Layouts

       Hey everyone, it's Cathy here, back again with another post.  This month I'm all about using vellum on my layouts.  I know most of us have vellum, and I'm sure we all use it, but for those who want to try a new way to use it, or just want to see it in action I decided to write up a little post showing a few different techniques when it comes to using up your stash of vellum.

       First let me give you a little history on vellum.  I was first introduced to vellum when I was studying graphic design, which was where I learned that vellum was originally made from animal skin, with the highest quality vellum being derived from stillborn and unborn animals, primarily calves. Now that I have sufficiently grossed everyone out we can move on.  Modern vellum is made synthetically, so we can all sleep a little better about that one!

      Back a few years ago vellum was all the rage. I remember seeing it crop up everywhere in scrapbooking magazines and in stores.  I even used vellum on my wedding invitations and that was 10 years ago!  I find the popularity of vellum ebbs and flows, but I personally love it and always have a stash of it on hand.

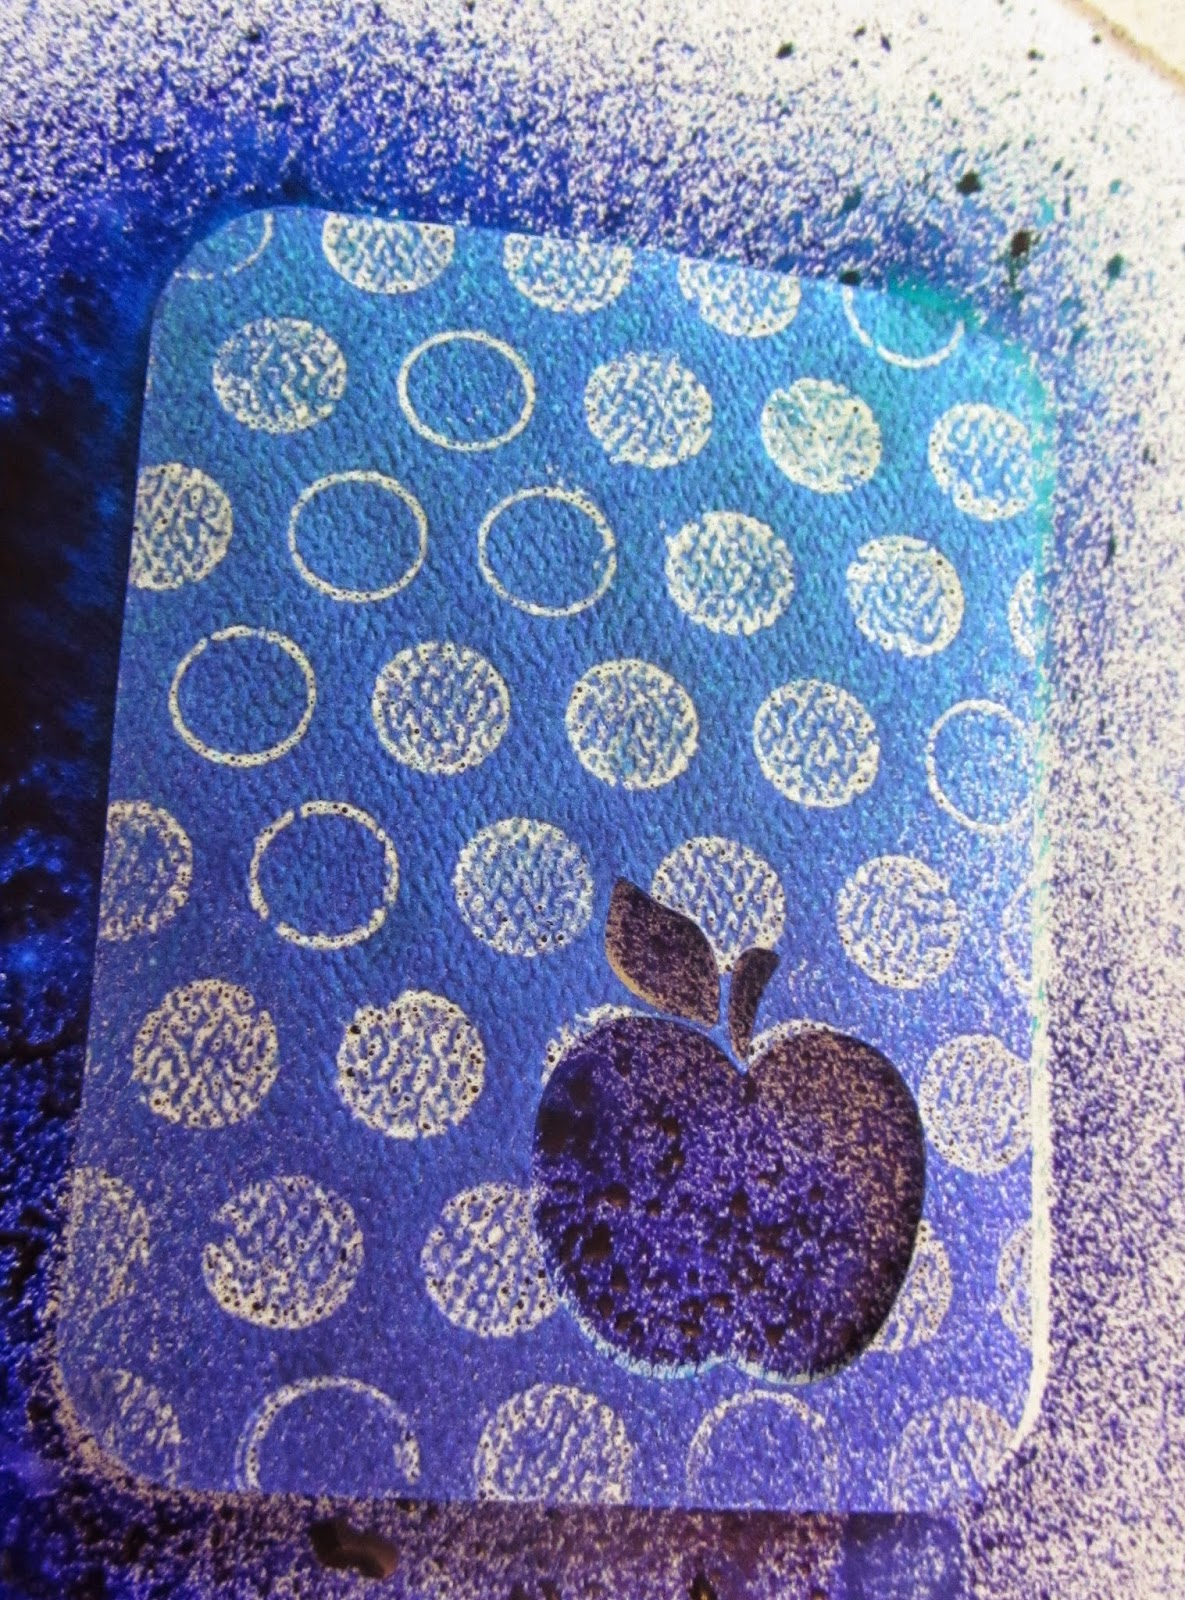
      Now to move on to the actual projects.  For my first example I used two different types of vellum.  I used a polkadot vellum as a photo mat and I used vellum to create a large banner.  I like to add vellum as a layering piece when I'm looking to add subtlety and a light, airy feeling to my layers. Using vellum as a layering piece can help calm an overly busy patterned paper and can help keep your layout from looking overly heavy or bogged down.


When I created this layout I knew that I couldn't put a heavy horizontal paper across all of my washi strips, so vellum was a perfect choice to show off a large banner and still allow the colours and patterns to come through. (originally designed for Sketch 'n' Scrap)

I have also used vellum to create my own embellishments.  If you haven't made one already I insist you all make a cute confetti pocket!  Mine is filled with sequins, but you could fill it with just about anything, even ephemera.  I don't have a sewing machine so I had to hand-stitch mine, but if you have a sewing machine you can pop one of these bad boys out in a matter of minutes!


I added some phrase stickers to the front of my pocket to dress it up a bit and create the image of a Christmas tree, but it's totally up to you what you do with your pocket.

Another great vellum idea is printing on vellum.  I love the look of images or words on vellum, and since you can easily do it at home it's a great and fun way to switch up your scrapbook page.  If you are printing on vellum here are a few things to keep in mind.  Black and white works very welt, at least in my experience.  In fact I've never even tried printing on vellum in colour, but I love the sharpness of a B&W image on vellum.  Another thing to remember is vellum will need a longer time to dry, so once you've printed your image or words, leave it somewhere to dry. I would say giving it a good hour or so just to be safe, especially with larger or highly saturated images. I also love the idea of printing your journalling on vellum, which is what I did for my next example.  The vellum is actually doing double duty for this page, as it is also acting as a mask for my photo too!


I simply printed my journalling on an 8.5 x 11 sheet, and then stapled it over top my photo and some patterned paper, giving the train image as well as my photo an almost dreamy appearance. 

As I did earlier I again used vellum to make a pocket for some sequins, only this time I also backed a die cut word with it.  I then put patterned paper behind the vellum and stitched it all together to make one large embellishment!


I really love how the vellum mutes the bold floral so that it doesn't compete with the busy background paper.

For my last example I did a similar effect, using vellum to mute a pattern, but this time I did in on a larger scale.  I really like how it added a subtle layer to the background without me having to add layer after layer.


For this I once again hand-stitched the vellum on after trimming it down so that it didn't overlap the background completely.  I could totally see this working with a busy geometric or floral pattern!

Now it's time to break out that vellum and get to work using it in any way you'd like!

   Cathy Martin
  Scrap Your Scraps contributor

Wednesday 10 September 2014

Scrap those SCRAPS.

Since I had knee surgery and was not allowed to use the steps, I had Ken bring me some thing from my stash. But I was bound and determined that no matter he brought down, I would use up and make some cards...
It did help that I had a 12 x 12 box labels scraps for cards and another one that said embellies. Again, everything was made from scraps I had laying around... no new packages were violated!
There are a few things that I used that I had just purchased, but those packages were already opened and had been used.


These are VERY plain and simple cards. I'm happy with what I accomplished and this didn't even put a dent in those scraps!
 

Again, make your projects your own. Mix it up, turn it around, just make it your own: no right or wrong.


I apologize for the photos, but to be honest, after all these years, I have yet to find a place in my house where I can get great photos!


  June Geraci
  Scrap Your Scraps contributor


Sunday 7 September 2014

DIY - Die Cut and Ink Resist Cards


Hi everyone, Tiffany here with a quick DIY post. I don't know about you, but I am LOVING some new products I've seen hitting stores. Unfortunately, I'm trying to use my supplies instead of adding to them right now, and I live in an area without any of the popular big box stores. So what's a girl to do? Figure out a way to make my own, of course.

A recent trend I really wanted to try out are cards that are die cut and also have some ink resist. The particular ones I've seen are made for pocket scrapping, but I use that kind of product on traditional layouts and greeting cards too, so the possibilities are endless.

I started out with watercolor paper (inexpensive Artist's Loft 90lb)  so that it would hold paint or ink well. My Silhouette Portrait cut right through this paper with no trouble on a normal cardstock setting. I mostly used cards that can be found in the Silhouette store, but I also made a simple 3x4 rounded rectangle and added some hearts (from the Silhouette store). I've only had the machine for a few weeks and this was my second project so it's pretty simple!


For this card, I used a stamp and VersaMark ink, plus clear embossing powder to add a resist pattern in the background. The watercolor paper texture really shows here but I like the way it looks.


Some Dylusions spray ink in teal and navy finished my card. You could also apply any kind of spray ink, watercolor paint or even ink from an ink pad using some kind of dauber. A quick swipe with a baby wipe or damp towel helps the resist areas to pop.

I used this card as a focal point on this grid style layout.


I also tried to do a card using a punch instead of a die cut machine. I love the way the hearts turned out - that's a Martha Stewart punch.


 The stamp I used this time was an Ali Edward's stamp for Technique Tuesday and the watercolor paper texture really made it impossible to read. I'm including it so you can learn from my mistake! If you have a detailed stamp, use smooth cardstock and be more careful about the amount of ink or paint you apply.


You could do this same technique with any punches or manual dies you have as well, and any stamp combined with heat embossing. The sky's the limit! If you give it a shot, I'd love to see what you do - comment below with a link.

Happy scrapping!

  Tiffany O'Grady
   Creative Team Member of SCRAP YOUR SCRAPS 

Thursday 4 September 2014

Start Small ~ Add As You Go


Hi Everyone,

Today I want to show you how easy it is to make more of your own embellishments by starting small and creating multiple layers until you get your desired finished project.  Sometimes by starting small, it doesn’t seem quite as overwhelming.  This is also a great way to use some of those scraps in your stash or extra paper pads. 

First, I find some plain or patterned paper.  Then I cut this paper into rectangles.  They can be any size, but I would cut them all the same to begin with.  It makes it easier to make several at a time.  In this tutorial, I cut all of mine into rectangles roughly 2.5” by 2”.  

Next, cut those patterned rectangle pieces on the diagonal.  Don't cut all of your rectangle pieces because you need some of them as a backing for the diagonally cut pieces.   


Now comes the fun part of piecing the different patterned pieces together to make the first layer of your embellishments.  Start matching up some of the diagonal pieces with your rectangles until you get them the way you want.  Adhere the diagonal pieces onto the rectangle. 


Try adding some circles punches, square punches, buttons, word art, or whatever you want as another layer.  Use your imagination.  I'm really loving circles lately.  So I used my two different sized circle punches.  For some of these, I used pop dots to make them more dimensional. 


You can use these just as they are or take them and add it to a 4x6 piece of card stock to use as a card topper, pocket page filler card or on one of your layouts. For these, I added a couple more layers of solid color rectangle card stock.  I then mounted them onto a 4x6 card and added some fish tail accents. 


See how easy that is?  Just start small and continue to build your layers until you get to your desired finished project.  I like to make several small ones just to have on hand.  That way I can use them later to make cards or add to my layouts.  I keep them stored in an old glass candleholder.  

Here's an 8 1/2 x 11 layout I made using a couple of the embellishments:

I hope you’ve enjoyed this tutorial and are inspired to start making some of your own layered embellishments.  Thanks for stopping by!


Sandi Chromey
Creative Team Member of SCRAP YOUR SCRAPS

Monday 1 September 2014

Inspired by Scattered Polaroid Frames Cut Out - LIVE LOVE LAUGH Layout

Hello Everyone
Today I wanted to share a layout I created with a Scattered Polaroid Frames die cut I purchased from the Silhouette Store ( http://www.silhouetteonlinestore.com/?page=view-shape&id=58916) and cut using my Silhouette Cameo.  As soon as I saw it I was inspired!  I saw instantly how I was going to use it on my next layout!  I had just printed these photos of my daughter out after their Pedal for Hope Assembly and I knew that the Scattered Polaroid Frames and photos belonged together.  This is what I created. 


There are millions of things that can inspire us at anytime.  Hope you sit down and create a layout next time you see something that inspires you and be able to capture the feeling or connection.
thanks for stopping by and HAPPY SCRAPPIN'!


  Mandy Reedyk
  Creative Team Member of SCRAP YOUR SCRAPS 


Hey everyone.  I really loved Mandy's post about how she was inspired by a Silhouette cut file.  I love so many of the layouts I see around using various cut files.  My only issue is, I don't have a Silhouette, and I definitely won't be affording one anytime soon, so DIY to the rescue!


   Cathy Martin
   Scrap Your Scraps contributor


Related Posts Plugin for WordPress, Blogger...